
How Much Does Drywall Repair Cost? A Homeowner’s Guide to Fair Pricing
Drywall damage is one of those home repairs that looks simple until you understand what is actually involved. Many homeowners see a small hole in the wall and think, “It’s just drywall. It should only take a few minutes and a few dollars.”
After more than 10 years as a professional handyman working throughout the GTA and surrounding areas, I can tell you that a quality drywall repair is about much more than filling a hole. The goal is not just to cover the damage. The goal is to make it disappear completely so that after painting, nobody can tell there was ever a repair.
A proper drywall repair involves preparation, protection of your home, the right materials, multiple finishing steps, and the experience to create a smooth, seamless result.
In this guide, I’ll break down what drywall repair actually costs, why prices vary so much, what homeowners are really paying for, common mistakes to avoid, and how to compare quotes fairly when hiring someone.
Average Drywall Repair Cost in the GTA
In the GTA, most drywall repair jobs typically fall into the following ranges:
- Small drywall patches (nail holes, small dents, minor damage): $150–$250
- Medium drywall repairs (door knob holes, larger patches, multiple damaged areas): $200–$400
- Ceiling drywall repairs: $300–$650+
- Water damage repairs: $450–$650 or more depending on the damage
- Texture matching repairs: $300–$500+ depending on complexity
- Larger drywall replacement sections: Custom pricing based on size, access, and finishing requirements
These prices can vary depending on the size of the repair, location, number of visits required, whether painting is included, and the level of finishing needed.
The biggest mistake homeowners make is comparing drywall repairs based only on the size of the hole. A 4-inch hole may look small, but creating a repair that blends perfectly with the existing wall takes skill and time.
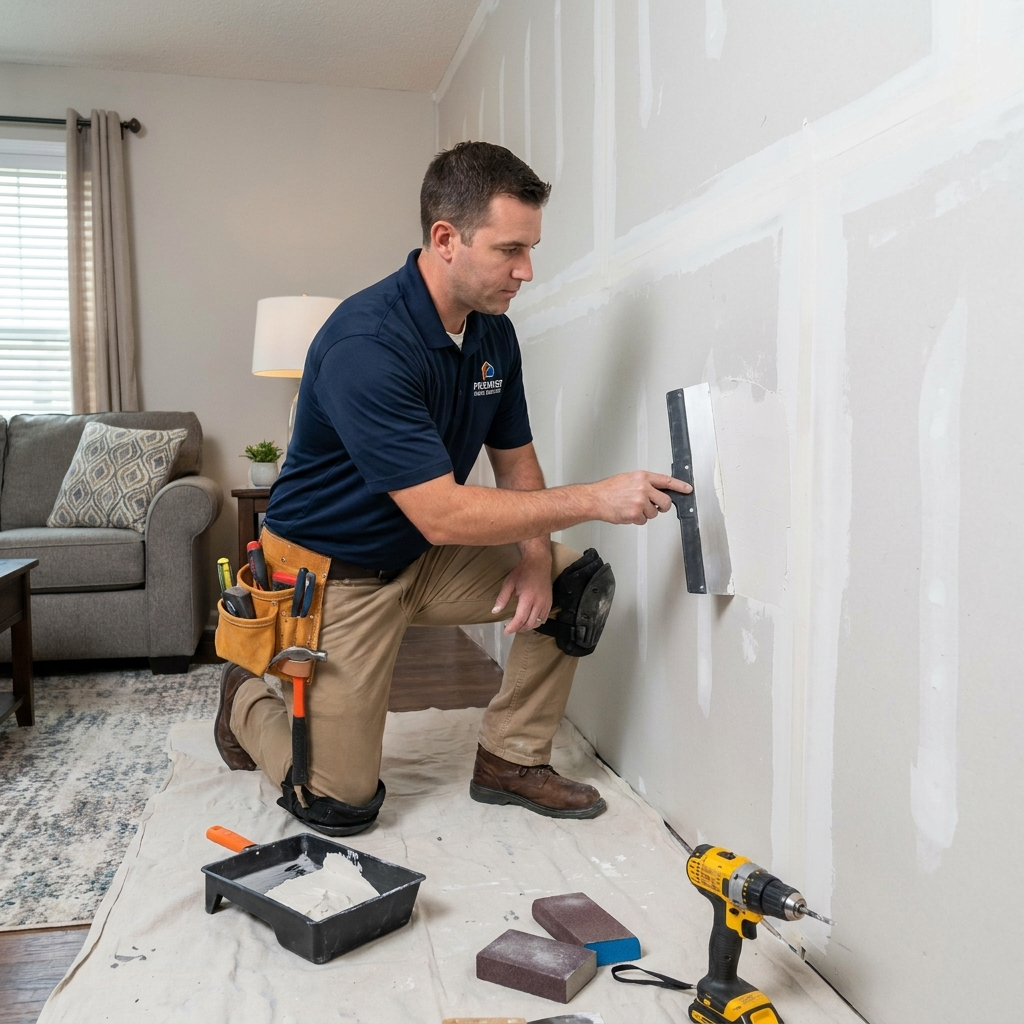
Why Small Drywall Repairs Cost More Than Homeowners Expect
When a homeowner looks at a hole in their wall, they usually see the visible damage. They see a small piece of drywall, some compound, and maybe 20 minutes of work.
What they don’t see is everything that happens before and after the patch.
A professional drywall repair includes:
- Driving time, fuel, insurance, and vehicle expenses
- Loading and preparing the right tools and materials
- Protecting floors, furniture, and nearby areas
- Cutting and securing the damaged section properly
- Installing backing support if needed
- Applying multiple coats of compound
- Sanding and feathering the repair
- Priming the repaired area
- Matching paint or texture
- Final cleanup
The drywall itself is often the cheapest part of the repair. The value comes from the experience required to make the repair invisible.
The Hidden Cost Factors Behind Drywall Repair Pricing
Travel Time and Minimum Job Costs
Even a small repair requires a professional to spend time getting to the property, unloading tools, preparing the work area, and cleaning up afterward.
This is why many reputable handymen have a minimum service charge. A small drywall repair may only require a short amount of active repair time, but there are still fixed costs involved.
In the GTA, a typical minimum charge may range from approximately $150–$250 depending on location and the scope of work.
This allows professionals to provide quality service without rushing through small repairs.
Multiple Coats and Drying Time
One of the biggest misconceptions homeowners have is that drywall repair is a one-step process.
A proper repair usually follows this process:
- Prepare and reinforce the damaged area
- Apply the first coat of compound
- Allow drying time
- Apply additional coats to build and smooth the surface
- Feather the edges into the surrounding wall
- Sand carefully
- Prime
- Paint
For small repairs, quick-setting compounds can speed up the process, but the finishing still requires patience and attention to detail.
A repair that looks fine after the first coat can look completely different after paint is applied.
Dust Protection and Home Protection
Drywall dust is extremely fine and spreads quickly. A professional repair is not just about fixing the wall; it is also about protecting the homeowner’s property.
Before starting a repair, proper preparation includes:
- Covering floors with drop cloths or protective runners
- Protecting furniture and nearby belongings
- Containing dust whenever possible
- Cleaning the area thoroughly after sanding
A homeowner should be cautious of anyone who arrives with only a bucket of compound and a drywall knife but no plan for protecting the home.
Real GTA Drywall Repair Examples From My Experience
The best way to understand drywall pricing is to look at real repairs completed in homes across the GTA.
Case Study: Repairing a Door Knob Hole in a Kids’ Playroom
One common repair I see is damage caused by a door opening too far and hitting the wall.
In this case, a homeowner had a kids’ playroom where the door handle had punched through the drywall because there was no door stop installed.
The damage was approximately a 6-inch by 6-inch jagged hole.
The repair involved:
- Cutting the damaged area into a clean shape
- Installing wood backing strips behind the drywall
- Securing a replacement drywall piece
- Applying mesh tape
- Applying multiple coats of compound
- Feathering the repair into the surrounding wall
- Sanding, priming, and painting
The total repair cost was approximately $200–$300.
The biggest lesson for homeowners is that proper backing matters. Simply filling the hole with compound may look acceptable temporarily, but it will often crack again when the wall experiences another impact.
A simple $5 door stop could have prevented the entire repair.
Case Study: Bathroom Leak Causing Ceiling Damage
Water damage repairs require much more attention than a normal drywall patch.
One repair involved a bathroom plumbing leak from an upstairs toilet supply line that damaged the ceiling below.
The damaged area was approximately 2 feet by 3 feet.
The repair included:
- Removing the damaged, softened drywall
- Confirming the leak had been repaired
- Allowing the area to dry properly
- Installing replacement drywall
- Applying several coats of compound
- Sanding smooth
- Applying stain-blocking primer
- Painting the ceiling
The total cost was approximately $450–$650.
The biggest mistake homeowners make with water damage is trying to cover the stain instead of fixing the damaged material.
Water stains will often bleed back through regular paint. Proper stain-blocking primer is essential for a lasting repair.
Case Study: Matching a Popcorn Ceiling Repair
Texture matching is one of the most challenging drywall repairs because the repair has to blend with an existing finish.
One homeowner accidentally damaged their popcorn ceiling while moving a tall piece of furniture.
The damaged area was approximately 8 inches by 8 inches.
The repair involved:
- Removing loose texture around the damaged area
- Repairing the drywall underneath
- Creating a smooth surface
- Priming the repair
- Applying matching popcorn texture
- Blending the new texture into the existing ceiling
The cost was approximately $300–$400.
The important thing homeowners should understand is that texture matching is not just a repair job. It is a finishing skill.
The actual patch may only take part of the time. The challenge is making the new texture match the old one so it disappears under different lighting conditions.
What Makes a Drywall Repair More Expensive?
Several factors can increase the cost of a drywall repair.
Ceiling Repairs
Ceilings are more difficult because you are working overhead, dealing with gravity, and often need more preparation and protection.
Small imperfections are also easier to notice on ceilings because light reflects differently.
Water Damage
Water damage requires additional steps:
- Removing compromised drywall
- Checking moisture levels
- Making sure the source of the leak is repaired
- Applying stain-blocking primers
- Sometimes replacing insulation or damaged materials
Texture Matching
Smooth drywall is usually easier to repair than textured surfaces.
Matching finishes such as:
- Popcorn ceilings
- Orange peel texture
- Knockdown texture
requires experience and patience.
Difficult Access Areas
A repair becomes more complicated when it involves:
- Stairwells
- High ceilings
- Tight spaces
- Areas near windows with strong natural light
- Repairs near electrical or plumbing lines
Common Drywall Repair Mistakes Homeowners Should Avoid
After repairing hundreds of drywall problems, I have seen many mistakes that create bigger problems later.
Using Spackle for Large Repairs
Spackle is useful for small nail holes, but it is not designed for larger drywall damage.
Larger holes need proper reinforcement, tape, and joint compound.
Skipping Tape
Drywall compound has very little strength on its own.
Tape is what helps prevent cracks from developing along seams.
Applying Too Much Compound at Once
A thick layer of mud may seem faster, but it creates more sanding, more shrinkage, and a higher chance of an uneven repair.
Professional repairs use multiple thinner coats.
Painting Without Primer
Fresh drywall compound absorbs paint differently than the surrounding wall.
Without primer, the repaired area can appear as a dull patch even after painting.
This is called flashing, and it is one of the most common signs of an amateur repair.
Red Flags When Hiring Someone for Drywall Repair
The cheapest quote is not always the best value.
Here are some warning signs homeowners should watch for:
- Extremely low quotes that seem too good to be true
- No mention of tape or backing support
- No plan for dust protection
- One-coat repair promises
- No discussion about primer or paint matching
- No clear explanation of what is included
A $75 repair may sound attractive, but if the person skips important steps and the repair cracks a few months later, you may end up paying twice.
How I Price Drywall Repairs
My approach is based on flat-rate pricing rather than hourly billing.
For homeowners, flat-rate pricing provides confidence because they know the cost before the work begins.
If I quote a repair at $300, the homeowner knows exactly what they are paying regardless of whether the repair takes slightly longer because of drying time or extra finishing.
An experienced handyman should not be penalized for working efficiently.
My pricing considers:
- Travel and overhead
- Labour involved
- Number of visits required
- Materials
- Paint requirements
- Texture matching
- Difficulty of access
The goal is always fair pricing while delivering a repair that lasts.
How Homeowners Can Compare Drywall Repair Quotes
When you receive multiple quotes, do not just choose the lowest number.
Ask these questions:
- Does the quote include proper backing behind the repair?
- How many coats of compound will be applied?
- Is sanding, priming, and painting included?
- How will dust be controlled?
- Will the texture be matched?
- Is there a warranty on the repair?
Also make sure you are comparing the same level of service.
A $150 quote for a quick patch is not the same as a $350 quote that includes full preparation, finishing, priming, painting, and cleanup.
Final Advice: You Are Paying for the Finished Result, Not Just the Patch
Drywall repair is one of those jobs where the final 10% of the work makes the biggest difference.
Anyone can fill a hole.
The real skill is making that repair disappear.
After more than 10 years working on homes throughout the GTA, my advice to homeowners is simple: don’t focus only on finding the cheapest repair. Look for someone who explains the process, protects your home, stands behind their work, and has the experience to deliver a finish that looks like the damage never happened.
A quality drywall repair should not be something you notice after the job is complete. The best repair is the one you cannot see.